Can Crain Bros Inc help when other contractors have already tried to repair the problem?
Yes. Crain Bros Inc can inspect the current condition, review the history of earlier work, document what remains damaged, and investigate why the problem returned or was not fully corrected.
What kinds of property problems can Crain Bros Inc investigate?
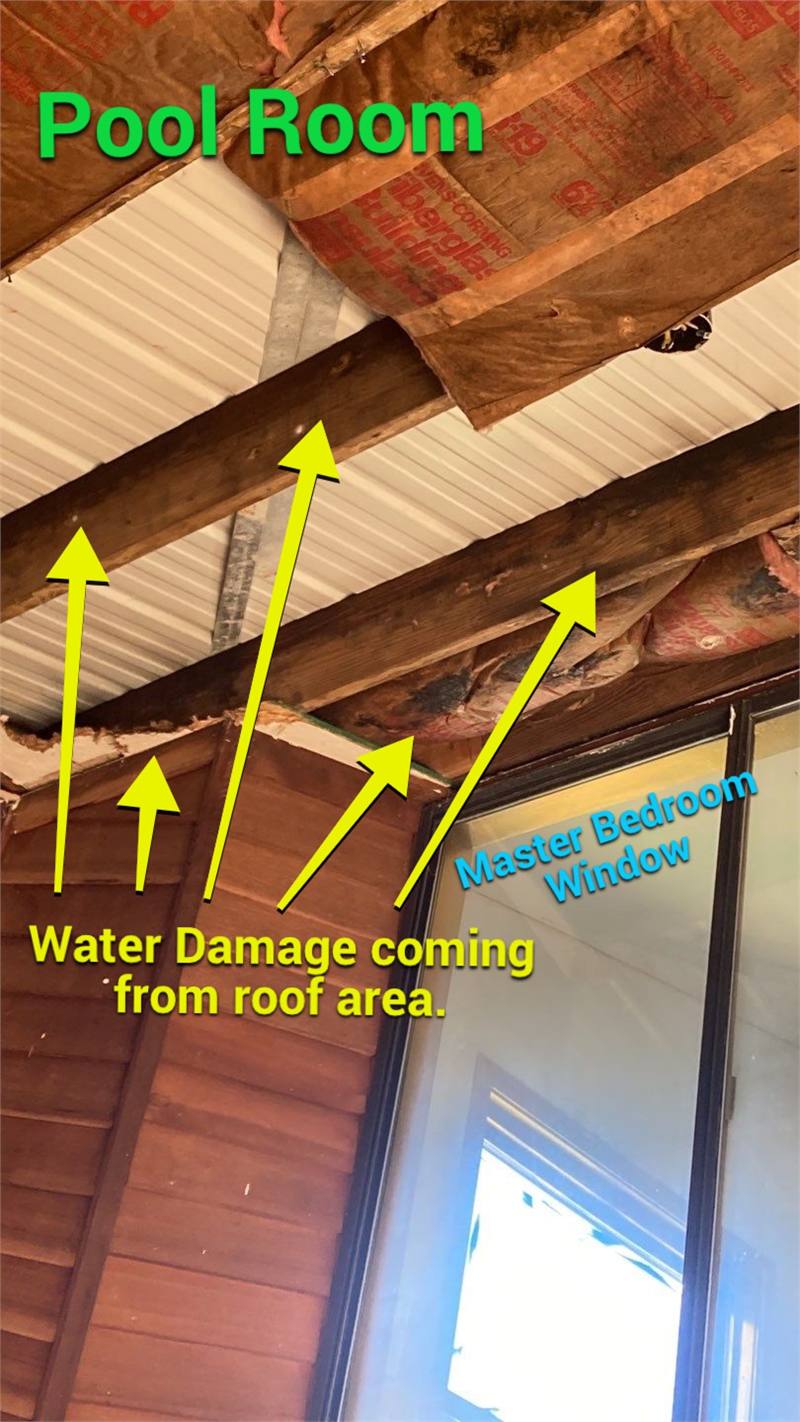
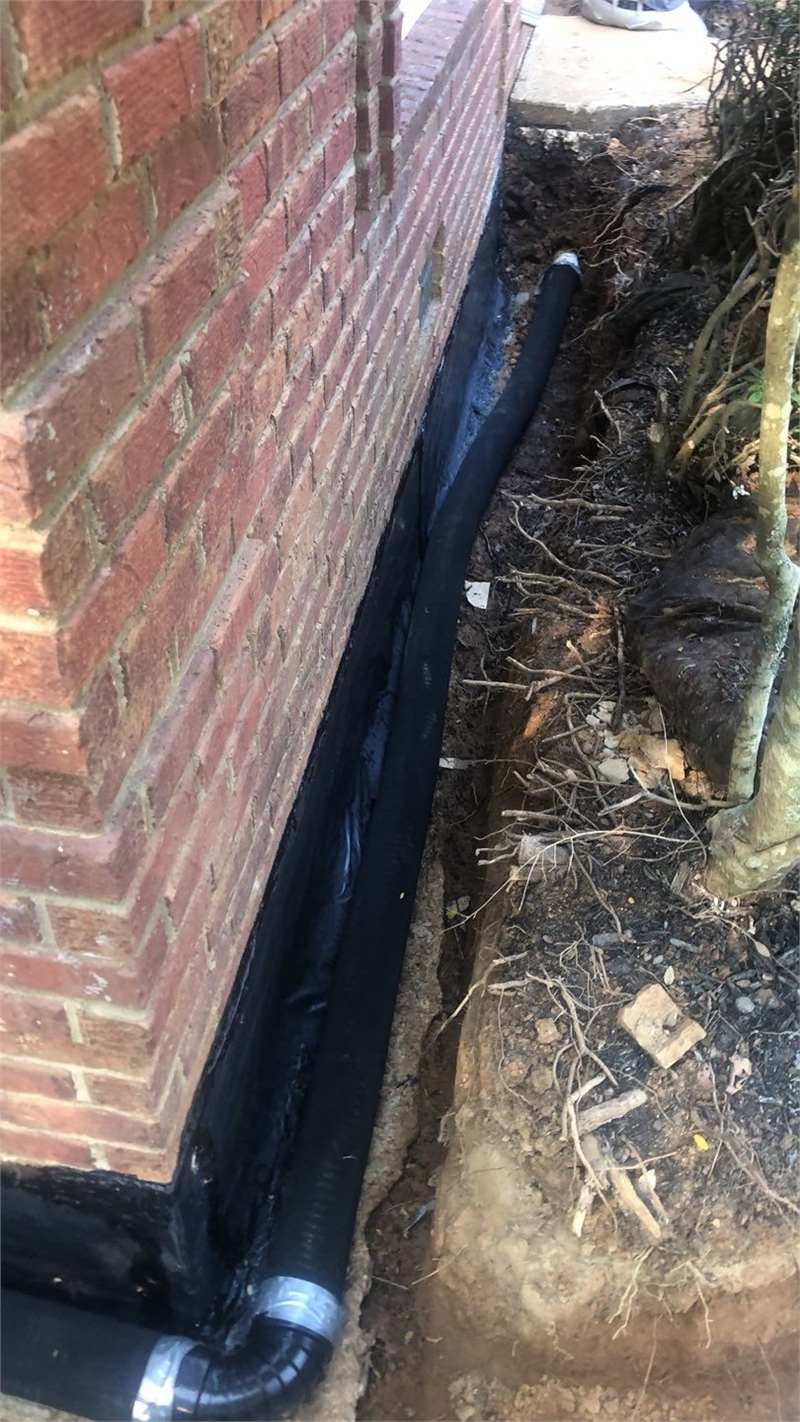
The investigation may address recurring leaks, water and moisture damage, foundation movement, ceiling and wall damage, floor problems, comfort concerns, indoor air quality conditions, drainage problems, roof and exterior-envelope failures, and repair scopes that do not match the property.
What is the difference between a building inspection and a diagnosis?
An inspection documents what is present and accessible. A diagnosis evaluates why the condition exists, how the evidence fits together, and what should be addressed before corrective work is designed.
Is this the same as a home inspection for a real-estate purchase?
No. This service focuses on property problems connected to damage, recurring failures, restoration, construction, scope review, and corrective planning rather than a standard purchase inspection.
Can Crain Bros Inc review a repair scope prepared by someone else?
Yes. Crain Bros Inc can compare proposed work with observed property conditions, affected areas, building-system relationships, code considerations, and the sequence needed to address the cause.
Does Crain Bros Inc work on properties involved in insurance claims?
Yes. Crain Bros Inc works on properties involved in insurance claims and provides documentation of damage, property conditions, and project work to the property owner. The property owner handles and files the owner's own claim.
What documentation may the property owner receive?
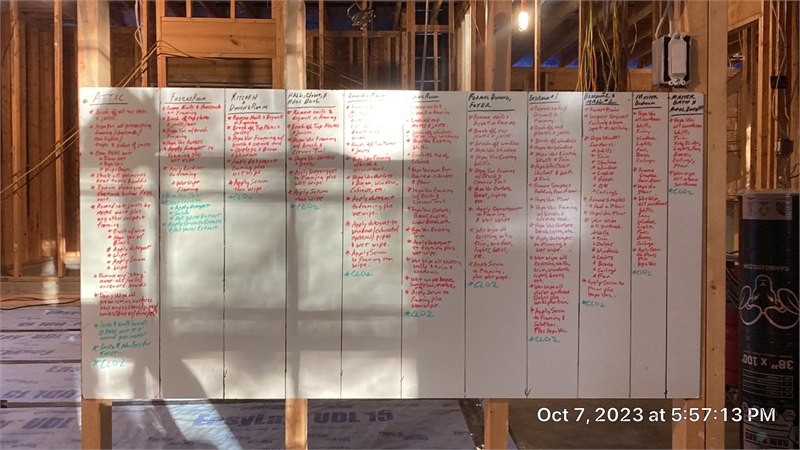
Deliverables depend on the agreed service and may include photographs, measurements, readings, documented observations, affected-area information, marked-up records, scope-review comments, repair-planning information, and recommended next steps.
What happens when independent testing or a specialist is needed?
Crain Bros Inc can identify the question that needs to be answered and coordinate with an appropriate independent testing provider, engineer, architect, or specialist when the agreed service requires that involvement.
Do you inspect homes and commercial properties outside Jonesboro?
Yes. Crain Bros Inc provides building inspection and diagnostic services in Jonesboro, Paragould, Brookland, Bono, Trumann, Harrisburg, Walnut Ridge, Lake City, Bay, Caraway, Monette, Newport, Blytheville, Gosnell, and surrounding Northeast Arkansas communities.
How are building-code requirements handled in different communities?
The Arkansas Fire Prevention Code provides a statewide framework, while cities and other authorities may have their own enforcement departments, permitting procedures, local amendments, and additional requirements. Current requirements should be confirmed with the authority having jurisdiction over the property.